Benvenuti a bordo della 500 Arcobaleno, sulla quale potrete fare un giro nel mio blogghino, spulciando tra pensieri, artigianato e passioni di Uapa =^.^=

Welcome aboard the Rainbow 500, in which you can visit my little blog, going through Uapa's thoughts, handicraft and passions
=^.^=

Pagine

Visualizzazione post con etichetta Cibo - Food. Mostra tutti i post

giovedì 7 settembre 2017

Migliorarsi 4: successi col fimo e disastri in cucina! - Getting better 4: success with fimo and disasters in the kitchen!

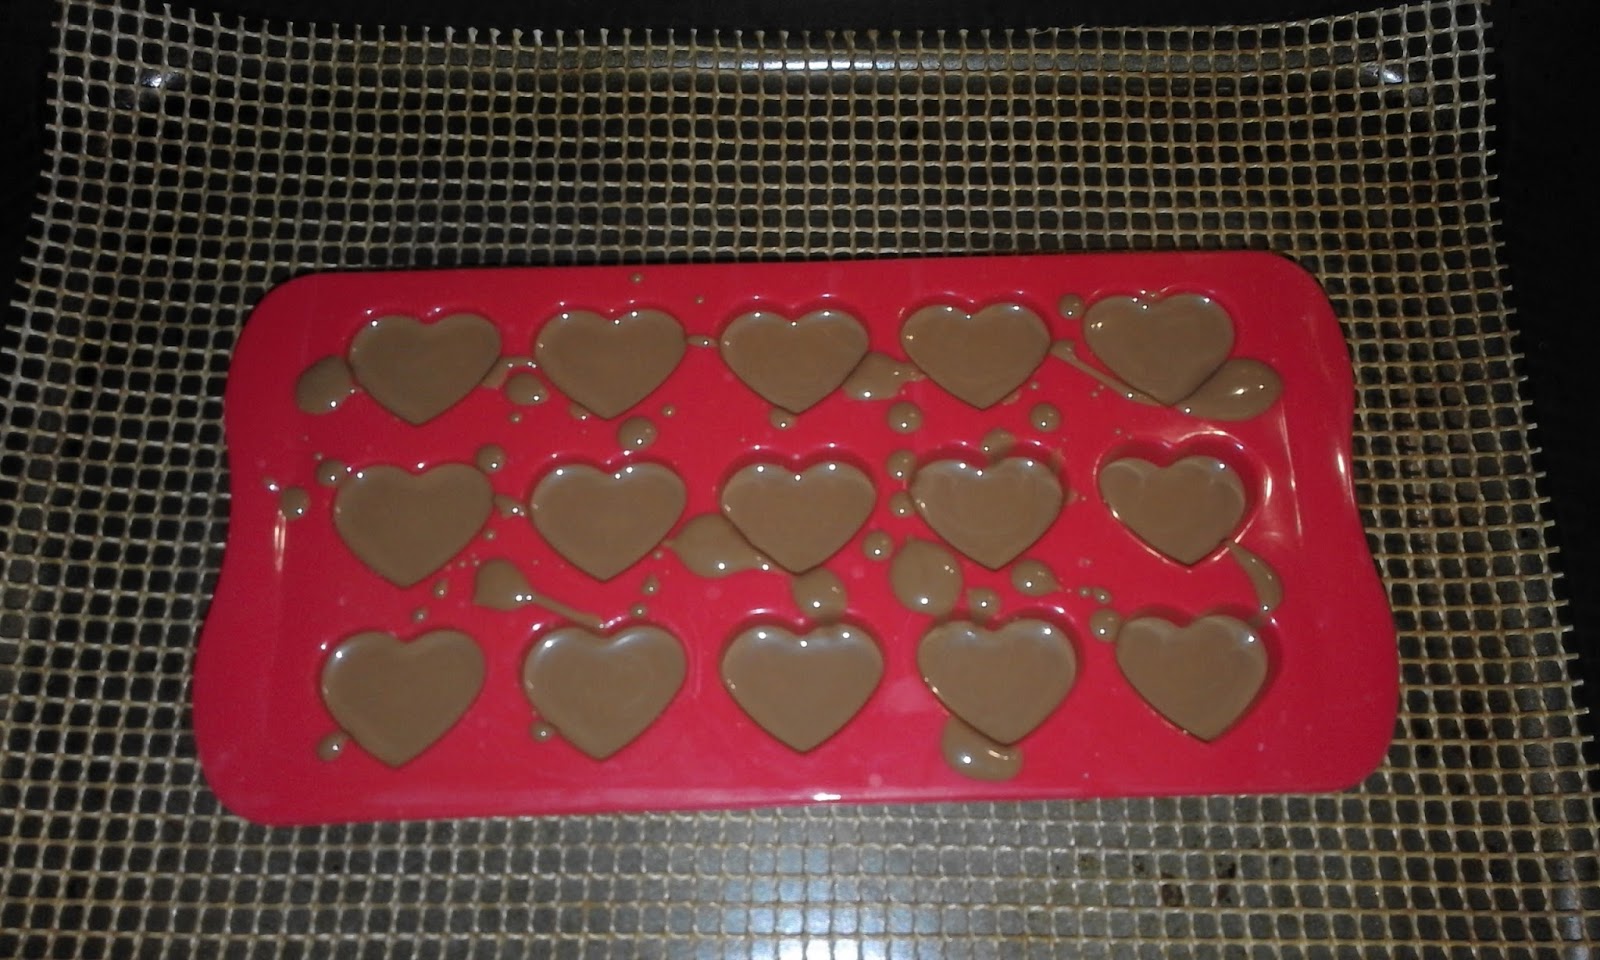
Per il compleanno di Keiko, la figlia del capo, ho deciso di farle una calamita per regalo, sperimentando per la seconda volta la nuova tecnica per le torte... Dopo aver indagato sui gusti golosi della festeggiata, mi sono messa a lavoro ed ho realizzato la mia creazioncina... E, trattandosi di una torta, ho realizzato un porta-torte come quelli della pasticceria XD

It's been Keiko's birthday (my boss' daughter), so I decided to make her a maagnet as a gift, trying for the second time to use the new technique to make cakes... After taking clues on her food taste, I started working on it and I made my little creation... And, being a cake, I also made a cake holder like the ones you'd find in a bakery shop XD


Ed ecco qui la confezione aperta, con la tortina ed una Bic, per confrontare le dimensioni :-)

And this is the box opened, with the cake and a Bic, to show you the size of the cake :-)


Il dettaglio della torta rivela ancora molti errori, che mi impegnerò a correggere, ma sono proprio contenta dell'impasto (a cui ho aggiunto più... "tuorli" ;-)  ) e del ripieno *.*

The cake's detail shows still many mistakes (I'll work to correct them), but I'm really satisfied with the dough (I used more... "yolk" ;-)  ) and with the filling *.*


Spero piaccia anche a voi!
Quello che invece mi ha delusa parecchio è stato il risultato del mio tentativo di realizzare una torta allo yogurt fatta in casa -_-
Ho imparato che: 
  • Montare la panna senza sbattitore non è impossibile, ma bisogna attenersi a poche semplici regole per una buona riuscita.
  • I fogli di gelatina vanno fatti sciogliere per bene o rimarranno pezzetti gelatinosi sparsi per il dolce.
  • Incorporare la gelatina ad una panna non montata NON aiuterà a rassodare un dolce.
  • E' saggio, nel dubbio, aprire la cerniera della tortiera sopra un piatto;  se non l'avessi fatto sarei ancora lì a pulire la moquette dalla torta (sì, ho la moquette in cucina, non chiedetemi perché, che non lo so nanche io).

Tuttavia, almeno il sapore non era male... Ma immaginate la mia faccia mentre la torta si spatasciava valangosamente nel piatto ç_ç
E pensare che stavo quasi per proporre alla mamma di Steve di non preparare il dolce per il pranzo della Domenica, perché ci avrei pensato io! ò_o'


I hope you'll like it too!
What was a big delusion, instead, was the result of my attempted homemade yoghurt cake -_-
I learned that:
  • Whipping the cream without an electric whip is not impossible, but you need to follow some simple rules to make it happen in the right way.
  • Jelly sheets must be well melted or you'll end up with jelly bits around your pudding.
  • Mixing jelly with a not whipped cream WON'T make your pudding thicker.
  • It's wise, if you have any doubt, to open the cake tin, to put it on a plate; if I didn't do it, I'd still be there cleaning the carpet from the cake (yes, we have a carpet in the kitchen, don't ask why, cos I don't know).


Anyway, at least the flavour was nice... But imagine my face while the cake would melt like a landslide ç_ç
And imagine that I was also nearly telling Steve's mum to not make a cake, cos I wanted to provide the pudding for the Sunday dinner! ò_o'


Un abbraccio arcobaleno! :-*

A rainbow hug! :-*


martedì 21 marzo 2017

Cioccolato! - Chocolate!

Ciao a tutti!
Per una volta vi faccio vedere del cibo vero! XD
Avevo voglia di cioccolato, ma volevo gustarmi un cioccolaatino alla volta, invece di spezzare un quadratino dalla tavoletta...
Così, sciolta la tavoletta, riempiti gli stampini, lasciati raffreddare...

Hello everyone!
For once I'll show you some real food! XD
I wanted some chocolate, but I wanted to enjoy a small chocolate, instead of breaking a bit from the whole bar everytime...
So, melted the chocolate bar, filled the molds, let them cool down...


... Et voilà!


Inutile dire che "et voilà": cioccolatini finiti in un nanosecondo ^^'
E vabbè!
Un abbraccio arcobaleno! :-*

No need to say that "et voilà": chocolate finished in a nanosecond ^^'
Oh well!
A rainbow hug! :-*

venerdì 30 dicembre 2016

Pranzo in barattolo! - Lunch in a jar!

Personalmente ho sempre preferito portare a scuola/lavoro qualcosa di preparato a casa, da mangiar freddo o da scaldare, perché so sempre cosa c'è dentro e so esattamente di quanto ho realmente bisogno per saziarmi, e per fortuna in casa abbiamo sempre seguito una dieta piuttosto sana ed equilibrata, senza rinunciare al piacere del gusto.
Non si può paragonare la praticità di un porta-pranzo o il livello di figaggine di un bento ben organizzato, ma per chi non ha paura di essere ancora più originale, senza rinunciare alla praticità, ecco un bel pranzo in barattolo!
I barattoli sono personalizzabili, basta attenersi a poche semplici regole, per fare in modo che gli ingredienti non si inzuppino troppo nel loro condimento e si mantengano bene:

Partendo dal fondo, l'ordine da seguire è questo:
1) Condimento.
2) Verdura/frutta (carote, broccoli, cetrioli, peperoni... Pomodori*, frutta varia).
3) Proteine (carne, pesce, formaggio, uova, yogurt).
4) Verdure a foglia (insalate di ogni tipo e verdura cotta).
5) Pasta, riso o cereali.

Su internet ci sono ricette per tutti i gusti, dal dolce al salato, io ho adattato le regole di base ad una ricetta leggera e buonissima che in casa è un grande classico: rughetta e bresaola, con pomodorini!

Personally I always preferred to take to school/work something I prepared at home, to be eaten cold or warmed up, cos I always know what I put in it and I know exactly how much of it I need to not starve, and luckily at home we always ate in a quiet healthy and still scrumptious way.
You can't compare how handy a lunch box is or how really cool a well organised bento box is, but for who isn't scared of being even more original (still using something really handy), here's the lunch in a jar!
Jars are customizable, you just need to stick to few simple rules, so that the ingredients don't soak in the dressing and keep nice until lunch time:

Starting from the bottom, follow this order:
1) Dressing.
2) Vegetables/fruit (carrots, broccoli, cucumbers, peppers... Tomatoes, various fruit).
3) Proteins (meat, fish, cheese, eggs, yogurt).
4) Leaf vegetables (every sort of salad and cooked leaf vegetable).
5) Pasta, rice, cereals.

On the net you can find recipes for every taste, sweet and savoury, I adapted the rules to a very light and delicious recipe we love at home: rocket, bresaola ham and cherry tomatoes!


Procuratevi un bel barattolo di vetro e sul fondo mettete il condimento: io ho usato olio di oliva, succo di limone (per ragioni troppo lunghe da spiegare, legate al nostro frigo, io uso il succo in bottiglia) e sale, da dosare a proprio gusto...

Choose a nice glass jar and put the dressing on the bottom: I used olive oil, lemon juice (for reasons too long to explain, related to our fridge, I use a juice in bottle) and salt, to be neasured depending on your personal taste...


... Lavate e asciugate i pomodorini, tagliateli a metà e versateli nel barattolo...

... Wash and dry the cherry tomatoes, cut them in half and put them in the jar...


... E' arrivato il momento della bresaola: io ne ho fatto degli involtini che ho poi spezzato a metà, cercando di maneggiarla lo stretto indispensabile per non alterarne il sapore e ridurre le contaminazioni (la vostra Uapa su questo è una vera e propria maniaca) e che poi ho aggiunto agli altri ingredienti nel barattolo...

... Time for the bresaola ham: I rolled it and broke it in half, trying to touch it as little as I could to not affect its taste and avoid contamination (your Uapa is a real maniac, regarding this stuff) and then I added it to the other ingredients in the jar...


... Una volta lavata e centrifugata bene, si può aggiungere la rughetta come ultimo strato del nostro barattolo.

... Once you washed it and spun it well, you can add rocket as last layer of our jar.


Ed ecco qua il nostro pranzo in barattolo!
La chiusura ermetica non permetterà al condimento di uscire, ma io per sicurezza metto sempre i miei pranzi in una bustina di plastica, così anche in caso di "incidenti" sto tranquilla e la mia borsa è salva!
Il vetro ha questa grande capacità di non alterare i sapori delle cose, cosa che io adoro, inoltre, trattandosi solo di un barattolo, non trovo che sia tutto questo gran peso da trasportare.
Una volta arrivata l'ora di pranzo, tirate il barattolo fuori dal frigo (o dalla borsa termica) scuotetelo per condire il tutto; ora, se il barattolo ha un'apertura abbastanza larga, potremo mangiare direttamente da lì, oppure verseremo tutto in un piattino.
Io l'ho testato e l'ho approvato, ora sta a voi decidere se provarlo o no ^^
In ogni caso, un abbraccio arcobaleno! :-*

And here is our lunch in a jar!
The airtight lid won't let the dressing go out, but just to be safe I always put my lunch boxes in a small plastic bag, so even in case some "accident" happens I'm not scared and my handbag is safe!
Glass has this great quality that I love: it doesn't affect the taste of things, also, being just a jar, I don't think it's this great weight to carry.
At lunch time just take your lunch out of the fridge (or the cool bag), shake it so that the dressing coats all the ingredients; now, if the jar's opening is large enough, we can eat directly from it, otherwise we can put everything in a dish.
I tried it and I liked it, now it's up to you if trying it or not ^^
Whatever is your choice, I give you a rainbow hug! :-*